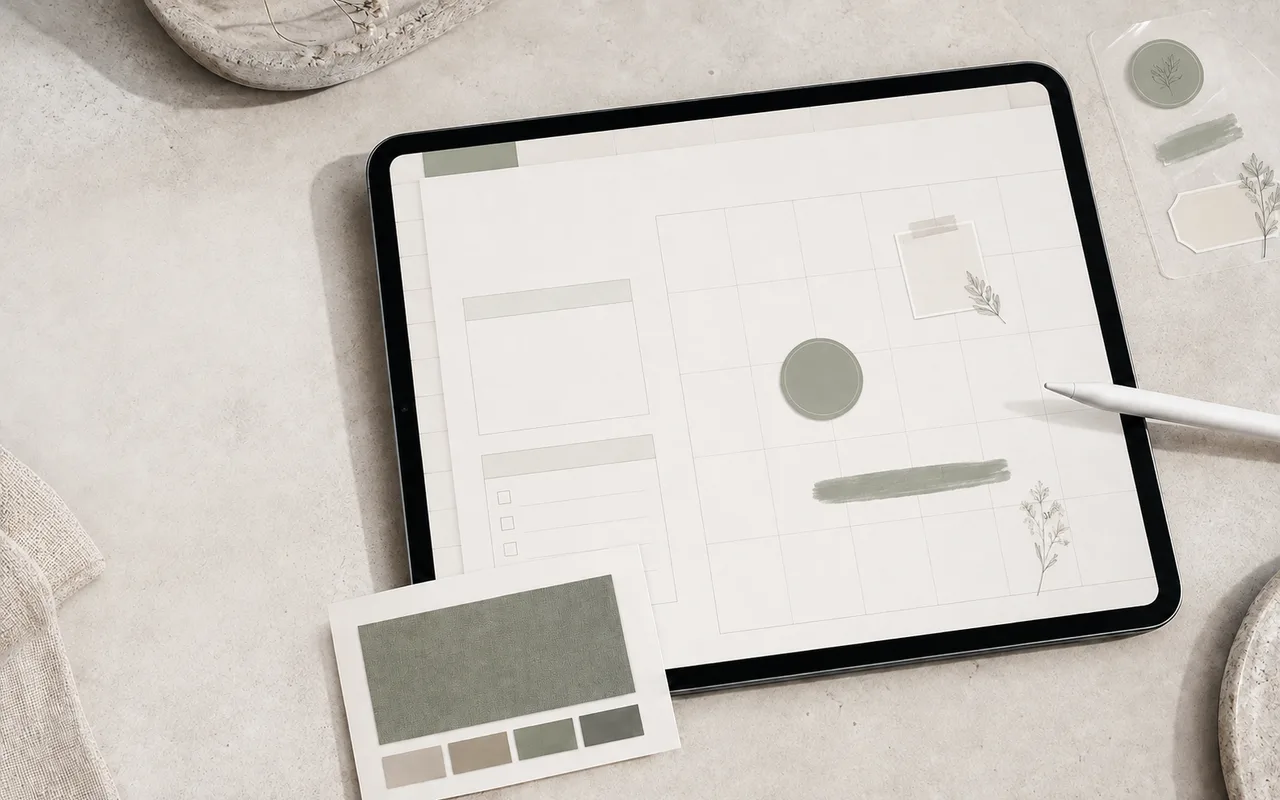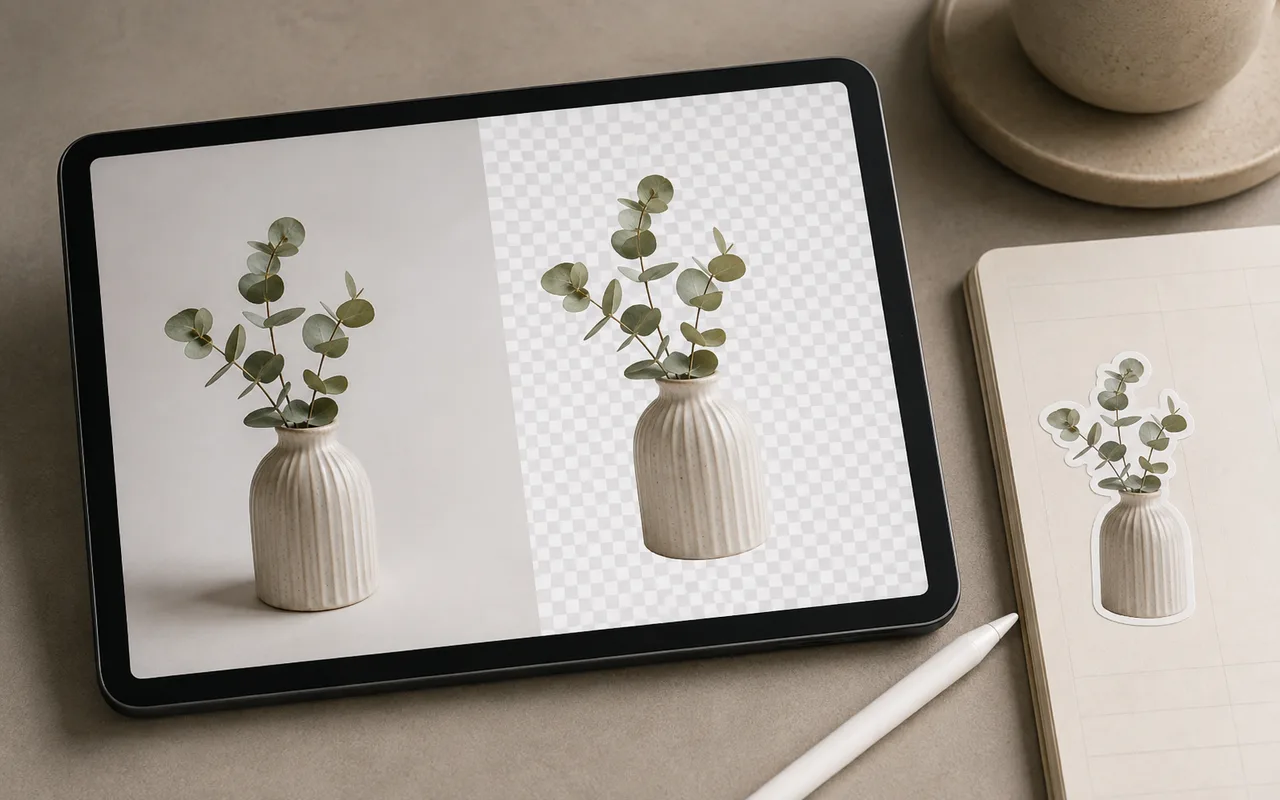
The Magic Cutout action on a sticker detail page can remove an unwanted background with one tap. It uses Apple's subject-lifting feature and then places the result on the clipboard, ready to paste into a digital planner.
Step 1
Check the requirements
Magic Cutout uses the background-removal feature built into iOS 16 and later. It therefore works only on compatible Apple devices and requires the Planner Shortcut to be installed first.
Step 2
Create and paste a cutout
- Install the Planner Shortcut and complete its initial setup.
- Choose the sticker or image you want to cut out and copy it to the clipboard.
- Open the matching sticker detail page in Planner.
- Select Magic Cutout and wait for the shortcut to remove the background.
- When the iPad reports that the cutout succeeded, return to the planner page and paste the result.
Step 3
Choose images that cut out cleanly
Clear photos with one distinct person or subject usually produce the best result.
The built-in iOS cutout may struggle with GIFs, many small assets combined into one image, scattered lettering, decorative fragments, or a subject that blends into the background. In those cases it may return a rough result or no result at all.
- Best: a clear portrait or product photo with one obvious subject.
- Avoid: images filled with small decorative elements.
- Avoid: separate words or letters spread across the image.
- Avoid: low-contrast subjects that merge into the background.
- Avoid: sticker sheets that combine many small images in one file.
Before you finish